We know that biofilm is a tricky thing. It grows quickly, harbors bacteria, protects that bacteria from cleaning agents, and then releases those bacteria back into the water, potentially causing severe health issues. We clean and sanitize regularly to try to keep it controlled, but how can we know how much bacteria are actually inside the pipes?
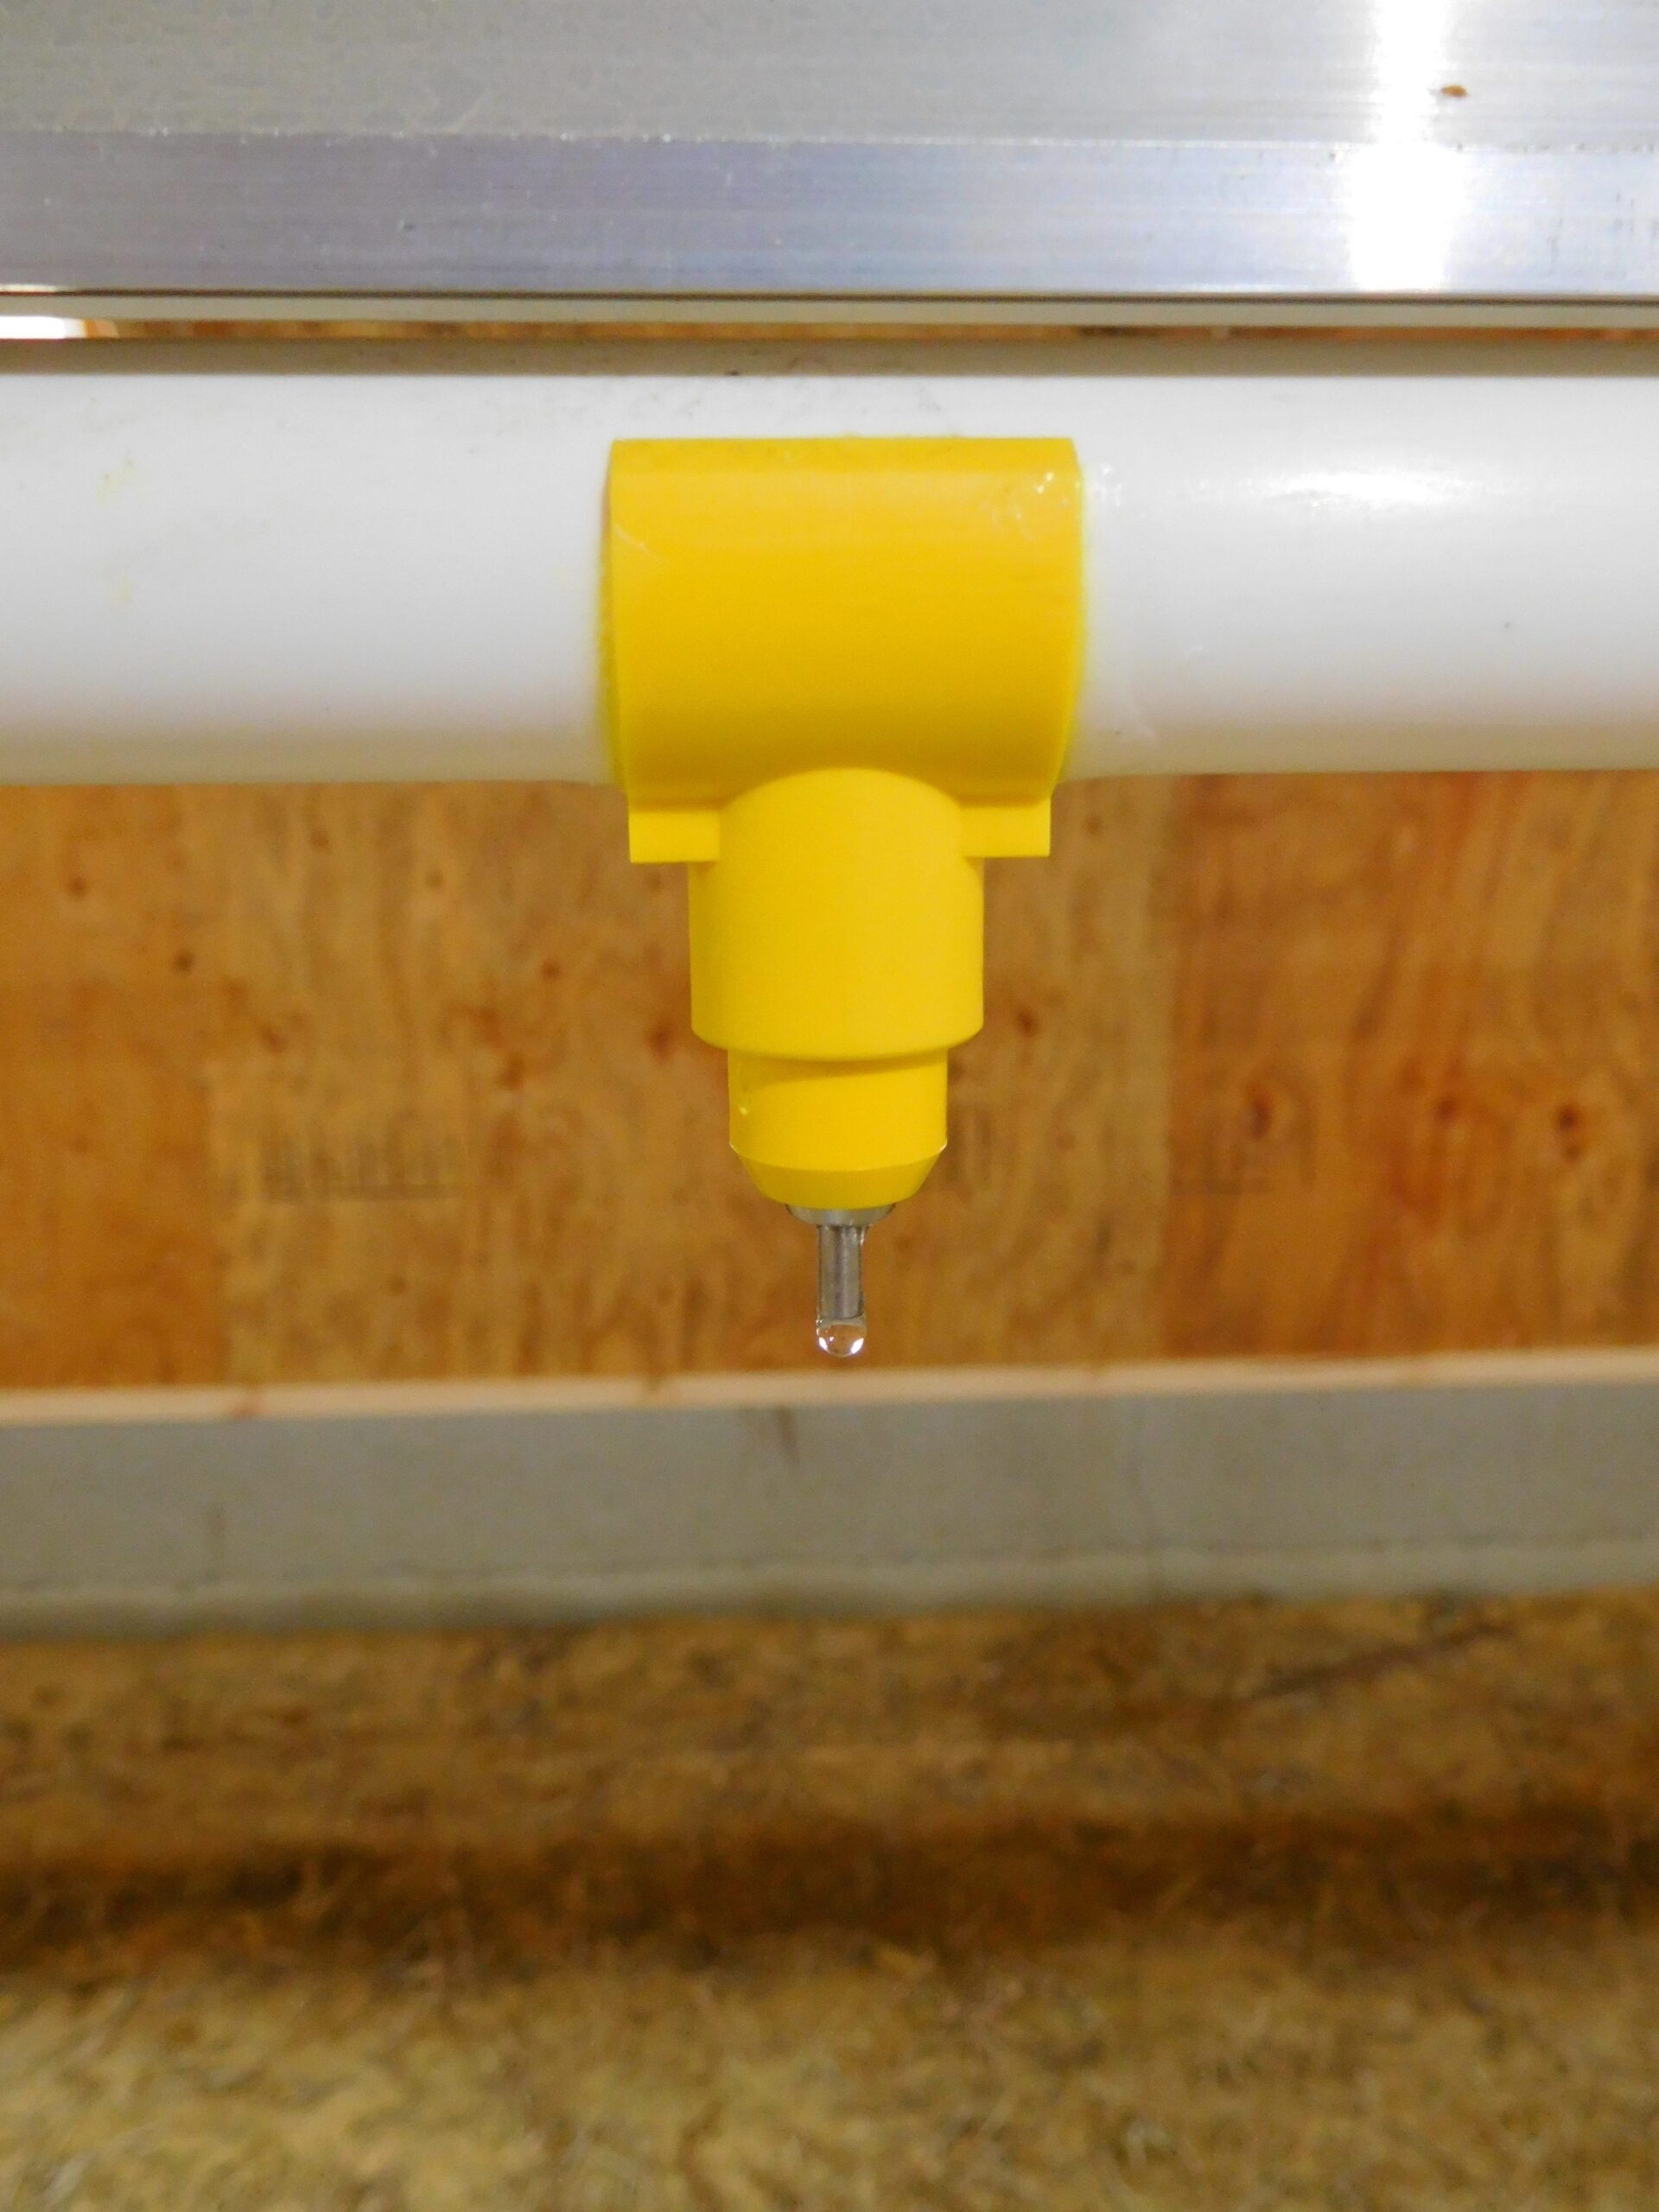
Doing a drip sample gives us just a vague idea. More accurately, it’s a representation of how much bacteria are being released into the water, but it doesn’t tell us how much bacteria are living in the line itself. By swabbing the inside of the line, we can test the biofilm to get a better idea of how much of it is actually present. Additionally, we can better tell the efficacy of our sanitation routine by swabbing before and after cleaning the lines.
Mary Scanting and Dr. Susan Watkins of The University of Arkansas have outlined the swabbing procedure step-by-step, and we share it with you here:
- Shut the water off to the water line being tested.
- Remove the cap from the end of the water line or detach the drain hose from the end of the line and allow excess water to drain out so the sponge will be absorbing biofilm and not just water. If a valve cap is present, remove it. Do not sample through the valve cap as it will
 not be a representative sample. Sample as close as possible to the standpipe.
 - Wipe off the outside threads of the water line with 91% alcohol in case your sponge brushes against them when you swab.
- Wipe down a pair of extra-long tweezers (these need to be 6 to 8 inches long) with alcohol or dip in alcohol. Use a flame starter to burn off alcohol and sterilize tweezers.
- Remove the cap of the swab vial while being extremely cautious not to touch the edge of the vial or the inside of the cap against anything.
- Put the sterilized tweezers into the vial and grasp the sponge. Push the sponge against the inside of the vial and turn to squeeze out the excess moisture. Removing the sponge.
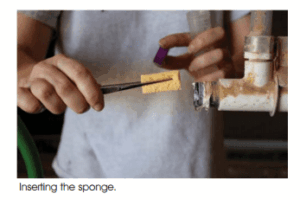
- Remove the sponge from the vial and insert into the end of the open pipe, being extremely careful not to touch anything as the sponge enters the pipe. Inserting the sponge.
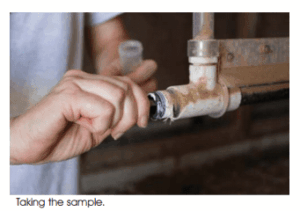
- Insert the sponge at least 4 inches into the pipe, twisting it as you go in and back out. Taking the sample. Swabbing water lines can be done for any type of line, but just make sure to remove any parts that will prevent you from getting the sponge into the true water line.

- Replace the sponge into the BPD or sterile water in the 50 ml vial and tightly close the cap to prevent leakage. Vigorously shake the vial to release an even number of bacteria from the sponge into the BPD solution. Carefully label the sample with a waterproof marker and then store the sample at refrigeration temperature (40° 45°F), even in transport until the sample arrives at the lab. For best results, samples should be submitted to the lab within 24 to 48 hours. Repeat this procedure for each testing site, being sure to sterilize the tweezers before using them for each sponge.
Your local Extension can run the tests for you and provide a report. Using the information provided, you can start to develop a program that will improve the water quality in the poultry house, and the performance quality of the birds.
Learn more about Dr. Susan Watkins and her research here.