Brooding For Success
Creating the optimal environment for young birds to thrive in during the brooding period will set producers up for success throughout the entire rearing period. The ideal environment consists of optimal floor and air temperature, access to ample food and water, fresh clean air, and dry litter.
Heat
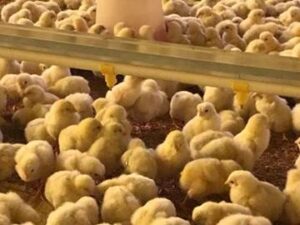
Chicks cannot regulate their own body temperature and require a warm space, so food consumption is used for growth, rather than warmth. Down feathers on chicks offer poor insulation and birds will quickly lose heat to the air, through contact with the floor, and from air movement.
Efficient brooding starts with house tightness and insulation.
Barns and floors should be heated enough to prevent cold stress. Low brooding temperatures (mid-80’s or lower) cause hormonal changes, create immunosuppression, and result in increased susceptibility to disease challenges.
Chicks that are brooded at slightly lower temperatures will eat more feed than those brooded at proper temperatures, but instead of that feed being used for growth, it is being used by the chick to keep warm, which will lead to reduced growth rates and poorer feed conversion. Even if proper house temperatures are maintained the remainder of the flock, research has shown birds that have lower seven-day body weights due to cold stress will not catch up by the end of the flock.
Best Practice: Warm the floors should be warmed to 90°F, ideally with some warmer areas closer to 110°F.
Food
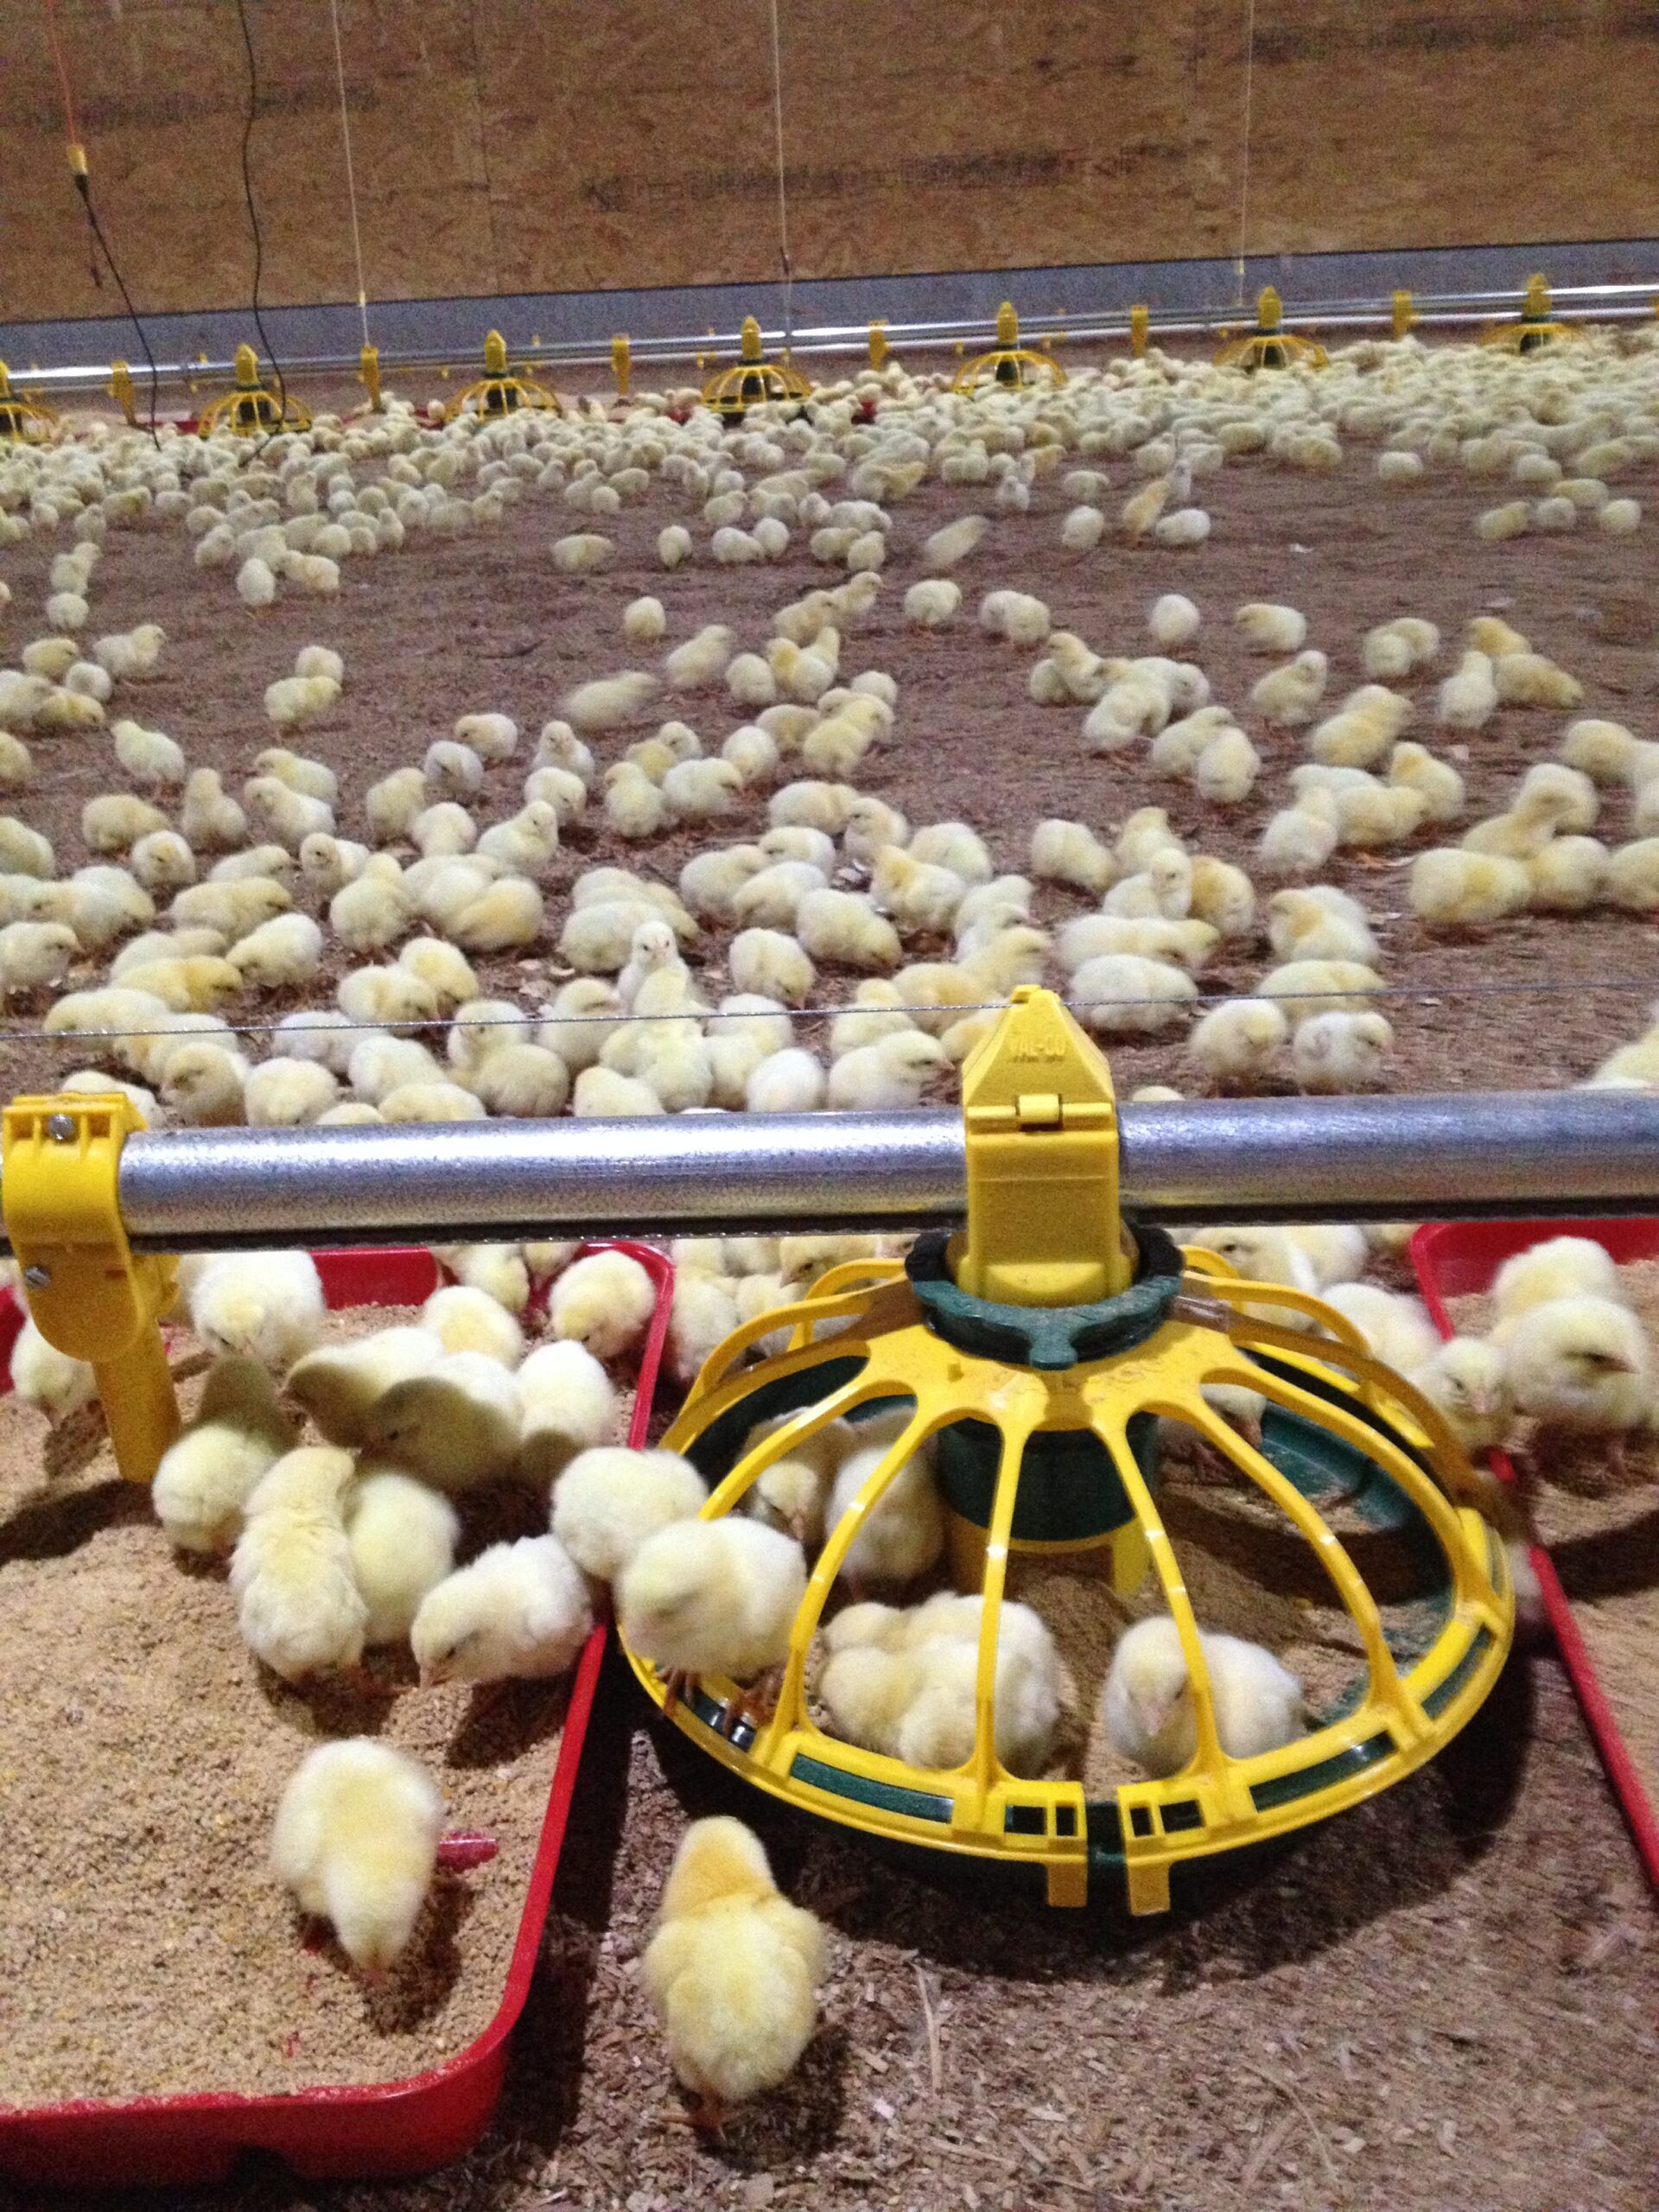
Appetite development is imperative in the first few days of a chicken’s life. Sufficient key nutrients are required to develop all of the systems of the body and the yolk sac can only provide so much. Birds must find feed and water in the first 48 hours to develop a healthy appetite.
Once the crop is filled, about 30 hours after feed is consumed, the digestive procedure will stimulate the appetite center of the brain.
The most important aspect when it comes to feeding is availability. For optimal feed accessibility and to stimulate chick appetites, cover at least 25% of the floor area with feed in trays or on paper, in addition to your automatic feed lines. Distribute the feed evenly throughout the brooding area.
Best Practice: 40-50 grams of feed per chick should be available at placement. Feed should be a consistent texture of crumb with a particle size of approximately 2-3 mm.
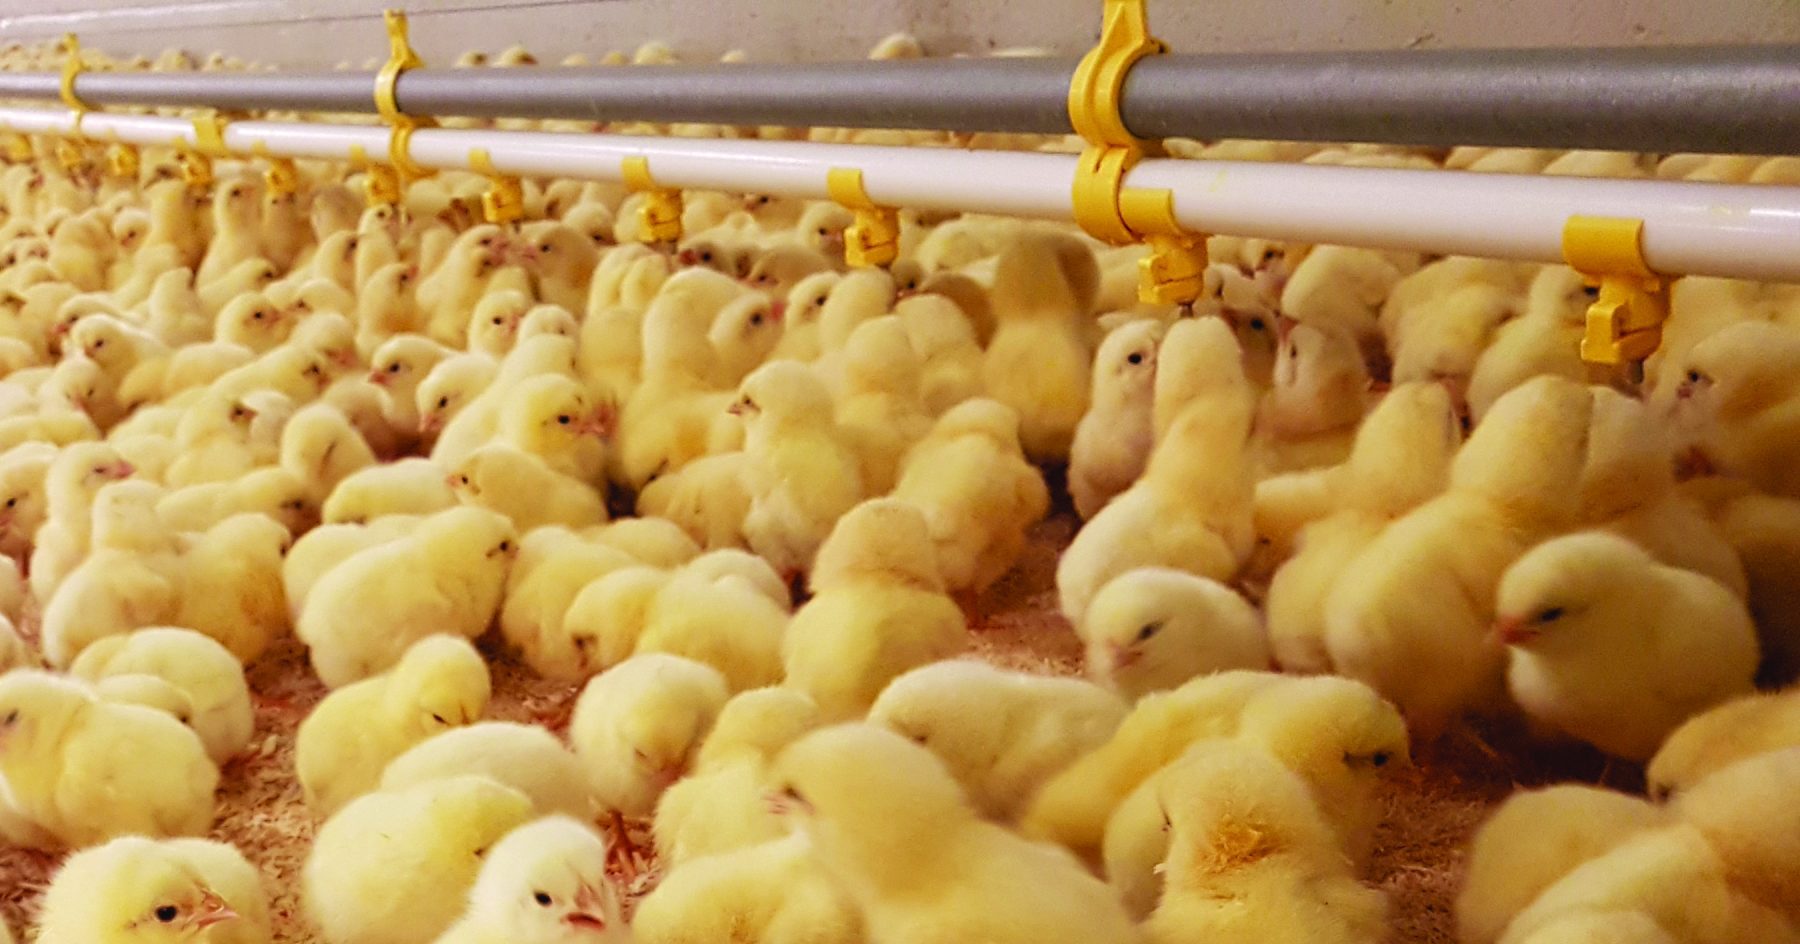
Water
Water is the most important nutrient. Every bird should consume 24 ml of water within the first 24 hours of life, 1ml/bird/hour, or roughly 40-50% of its own body weight. Water lines should be full and available upon arrival to get chicks off to a good start.
Drinker height and water pressure are adjusted according to the bird age and size. As the birds get bigger, the drinker system will need to be raised and the water pressure increased.
Best Practice: There should be 20-30 chicks per nipple drinker during the brooding stage. Flush the lines a few hours before placement to remove air pockets and place the droplet at eye height.
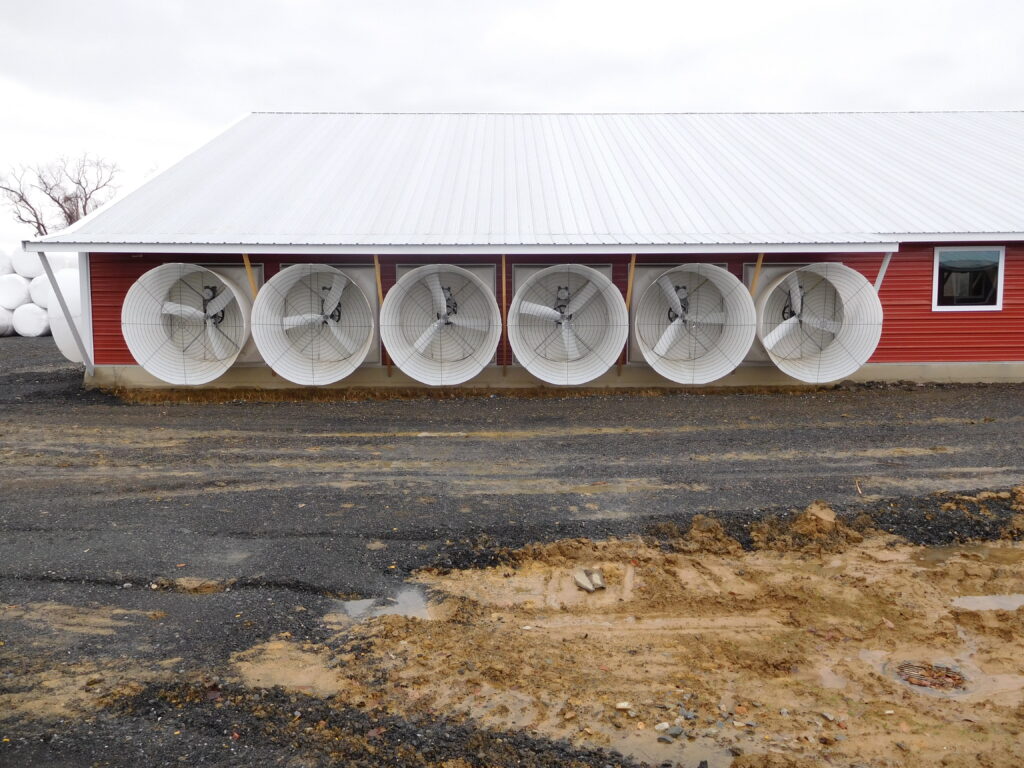
Ventilation
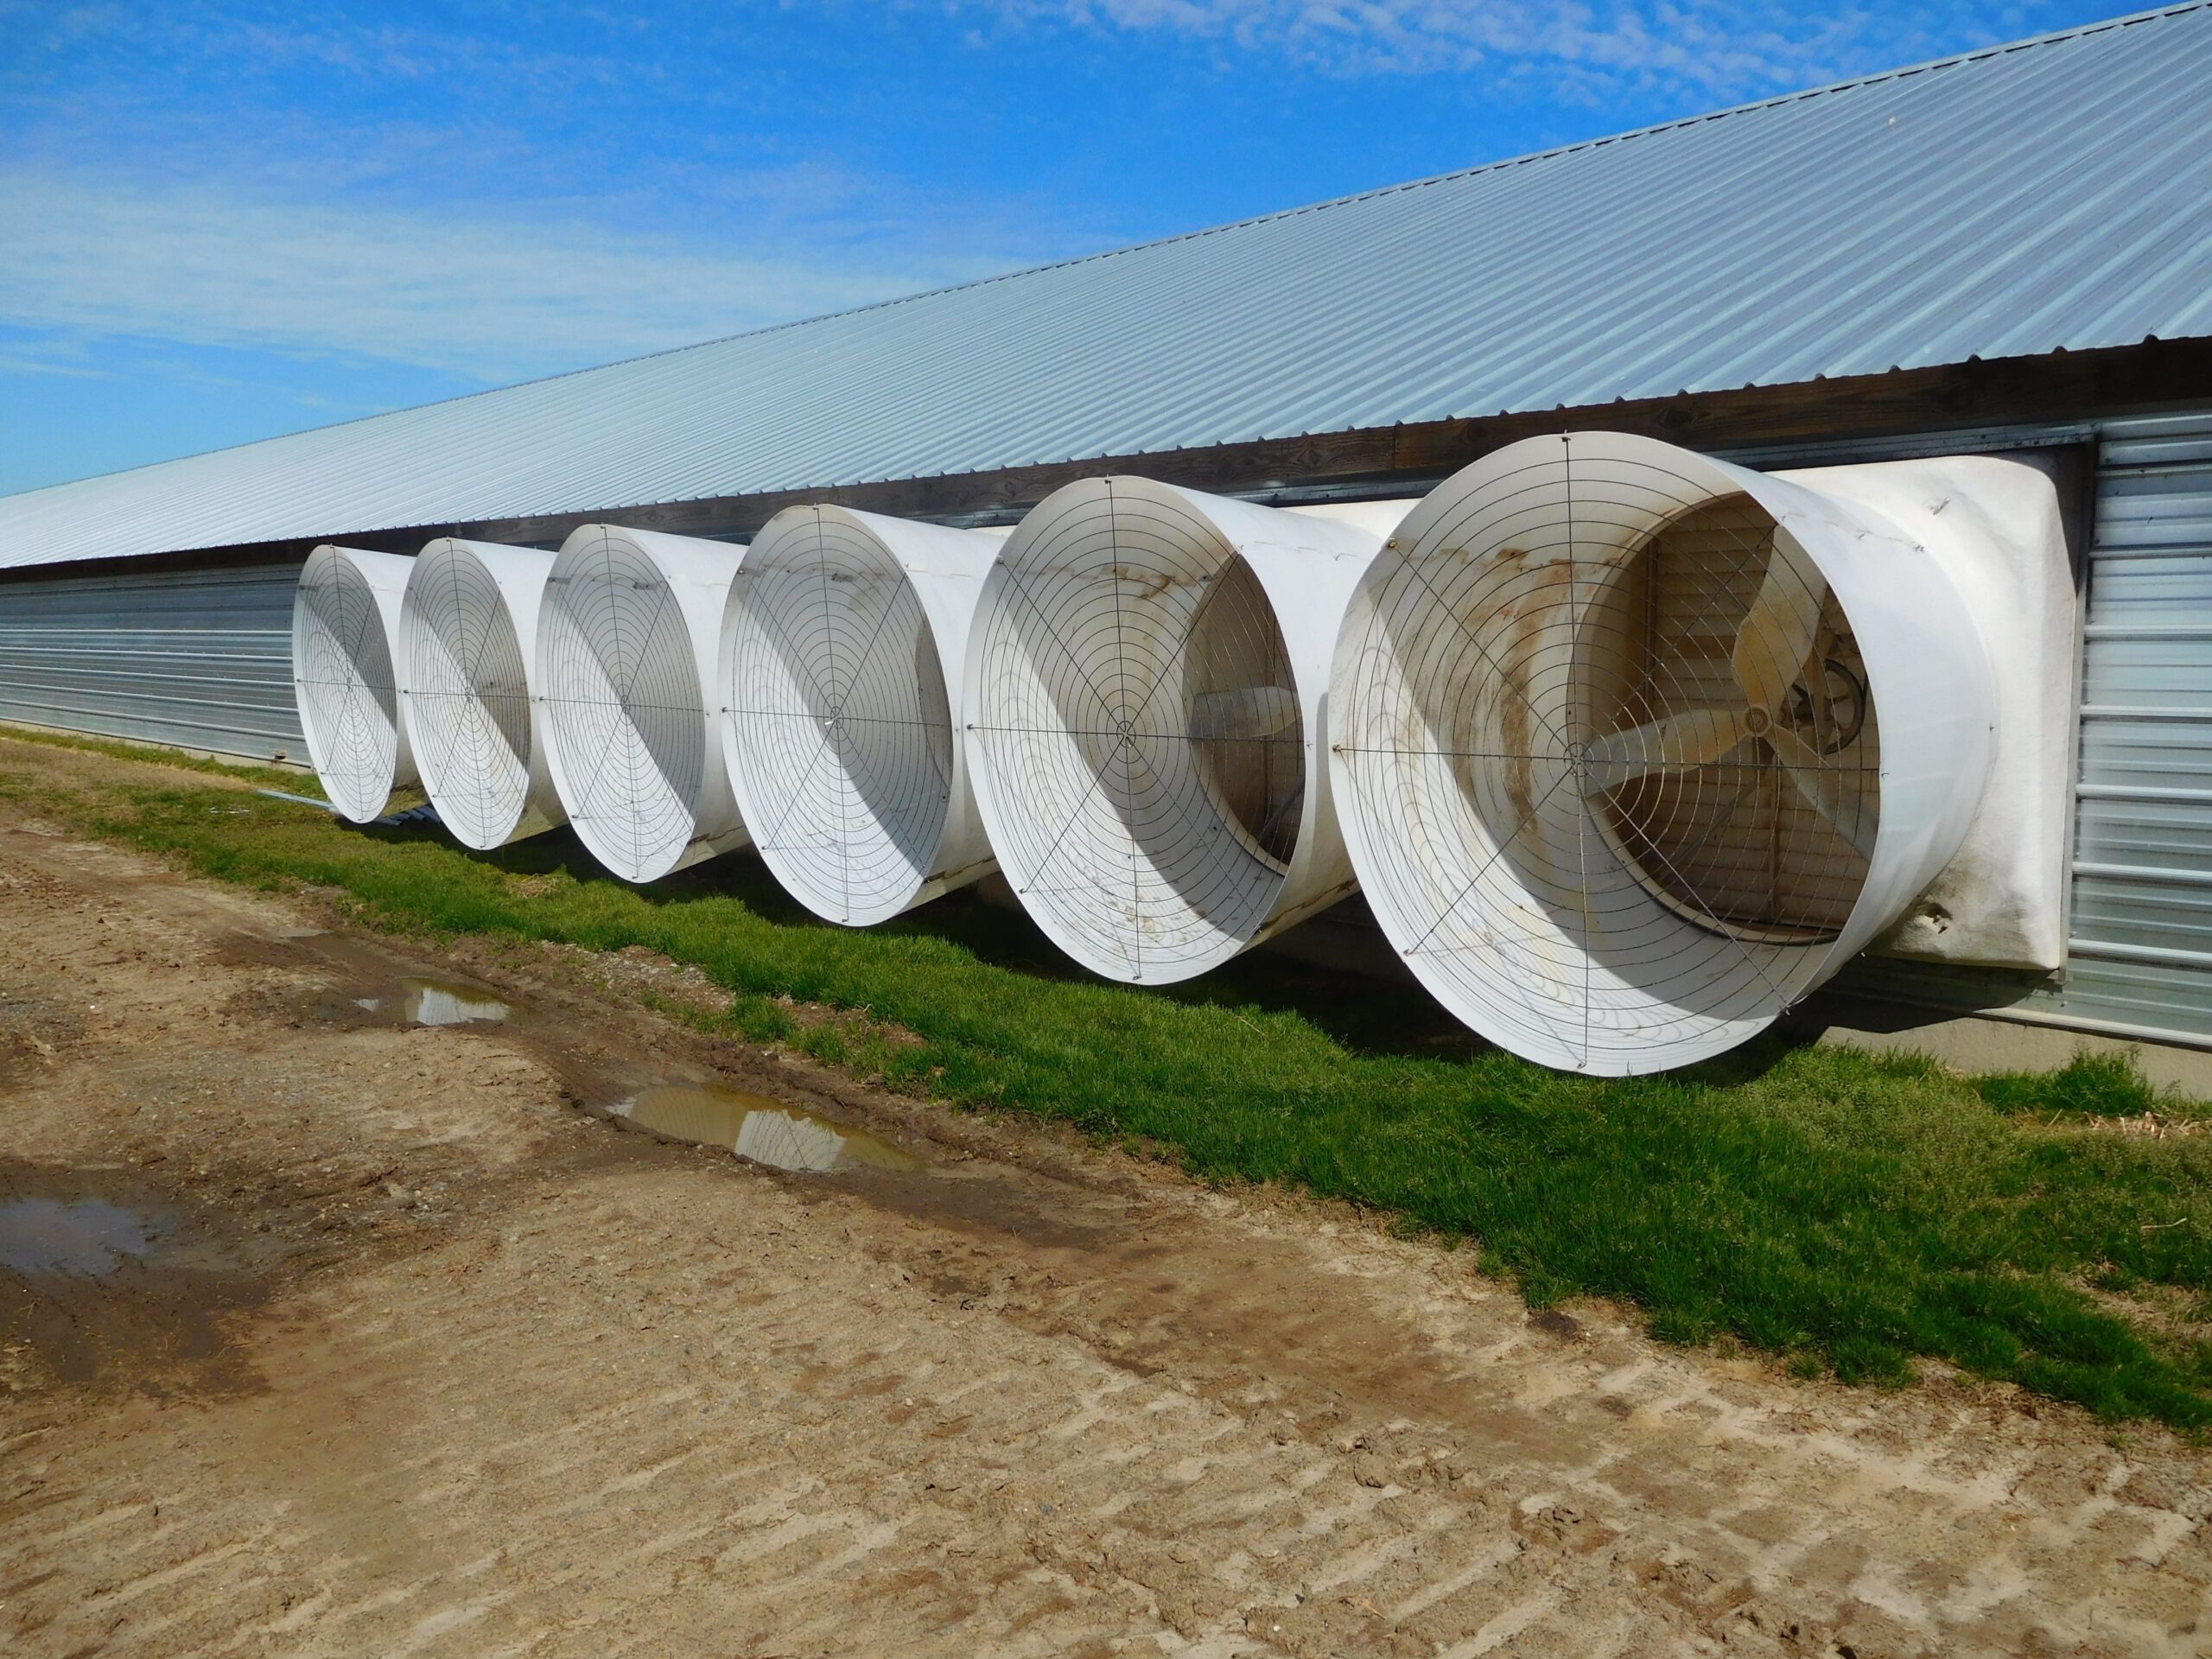
Carbon dioxide from brooders or furnaces in proper working order, carbon monoxide from brooders or furnaces NOT working properly, and ammonia from damp litter can all cause severe health issues or death. These gases become a problem when the air exchange rate is too low. Minimum ventilation provides good air quality at chick height without drafting the birds.
Minimum ventilation is the lowest level of ventilation needed to maintain the best atmosphere in the barn.
The goal of the minimum ventilation system is threefold: 1. To provide sufficient fresh air to maintain air quality; 2. To provide sufficient fresh air to control house temperature; 3. Accomplish this using minimal energy. Incoming air must be guided through the right location, in the right direction, at the right velocity.
Fresh, incoming air needs to be heated up before contacting the birds. To do this, air needs to move along the length of the ceiling to be heated properly.
The velocity of the air must carry it to the center of the house. This means the static pressure in the house must be high enough to pull that air through the inlet and throw it towards the center of the house.
Air will travel along the ceiling, meet with the incoming air from the opposite wall, and then start to fall towards the floor where it gathers moisture and gases to be ventilated out of the barn.
By traveling the full distance to the center of the house, the fresh air is warmed before it contacts the birds, preventing chilled birds.
To improve ventilation and heating efficiency, use stir fans to their full potential. The goal should be to move the house air so that it’s mixed floor to ceiling, end to end, sidewall to sidewall. A moving capacity (percent of volume of the house air to be mixed each minute) of 10% creates good destratification and temperature uniformity, but litter drying is minimal. However, 20% air movement creates excellent destratification, great temperature uniformity, and good litter drying.
Best Practice: Monitor the air temperature, humidity, and overall quality throughout the day. Ventilation needs change as outside temperatures fluctuate and birds grow, so know how to adjust your controller and your minimum ventilation settings. Use stir fans to conserve heat and improve moisture removal and air quality.
Litter Moisture
Bedding insulates chicks from the cold house floor. A minimum of 3” in thickness is required from wall to wall in the house. Shallow litter will result in litter quality deteriorating more rapidly even under proper ventilation rates. Poor litter quality can increase ammonia production, microbial loads, foot pad dermatitis, coccidiosis and dermatitis.
The moisture level of the litter directly impacts the air quality of the barn. Wet litter leads to increased ammonia levels. High litter moisture creates a favorable environment for bacteria growth and increases ammonia levels. Ammonia also causes paw lesions when birds’ feet come into contact with its liquid form in the litter. Paws soften when standing on wet litter. Litter sticks to the paws and the ammonia begins to erode the skin.
To improve both litter quality and air quality, aim to have an ideal litter moisture level between 20% & 35%. Tools exist to measure this, but a good immediate indicator is that litter is friable; you can squeeze the litter in your hand, it will slightly hold its shape, and then crumble when you push your thumb into it.
Best Practice: Preheat the litter 48-96 hours prior to chick placement to purge floors of ammonia. Run minimum ventilation to keep relative humidity at 50-70% during brooding.