Brooder cleaning is one of the most important tasks done on the farm. Brooders rapidly lose heating efficiency when they are dirty. Routine maintenance ensures you get the most out of your heating equipment and prevents fire hazards.
Brooders should be cleaned and inspected before every flock. Regardless of what they look like on the outside, there is likely a build-up of dust on the interior components of the heater.
Step One: Turn the gas and power off!
Then lower the line to a comfortable working height.
Step Two: Remove dust, dander, and debris.
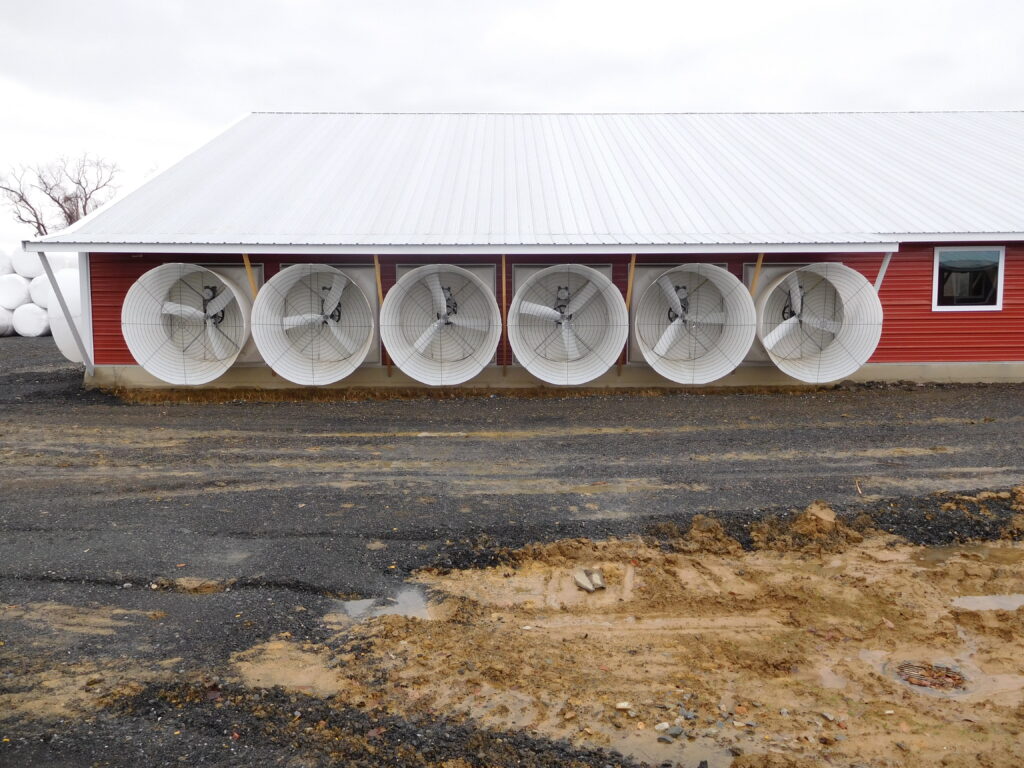
Open an inlet or two and turn some fans on to get the air moving through the house and keep the dust blowing away from you. Work from the front end to the tunnel end. Using a high velocity blower (like a leaf blower) or compressed air, blow the dust off the brooders. Blow off the tops first, then the underside. Blow off filters. Blow out the combustion chamber. Remove all dust that might restrict air or gas flow.
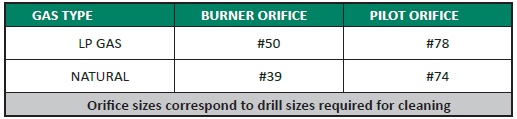
Use a proper drill gauge to clean out the pilot and burner orifices. Take extra care that you don’t round out the hole and make it larger, as this will cause improper burning.
(VAL-CO brooder orifice sizes shown at left.)
Step Three: Remove residual dust.
Reflector shields or canopies might require a wet rag to clean off the remaining dust residue.
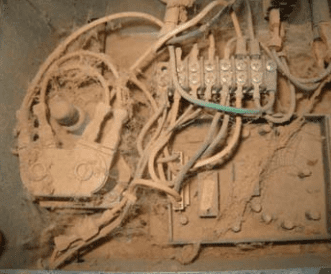
Step Four: Check electrical components.
Most brooders have control boxes that house electrical components. Parts should be kept clean and tight. You can blow these off with the blower and low pressure compressed air. House moisture and dust can cause these connections to short; it’s imperative they are kept clean.
Step Five: Inspect for damage.
Any damaged parts should be replaced to avoid fire hazards. Check that all gas orifices, burners, and igniters are free from obstructions. Check that hoses are free of dry rot, kinks, cracks, or burns and replace if there is any evidence of these. Check all power and voltage wires are in good shape, free of nicks or damaged insulation, and replace if necessary.
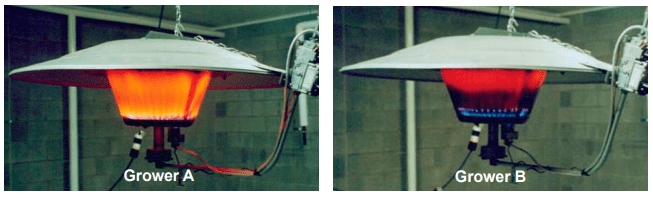
Step Six: Test gas pressure.
It’s a good idea to do this at least once every few years. If you have never done it, do it now. Regulators can weaken over time and allow gas pressure to rise above the recommended operating range. Rust, dirt, and debris can build up in the piping system and clog the supply lines resulting in lower pressure. Heaters operating at too-high pressures can overheat and cause fires; too low and you’ll have excessive run times and inefficient heat output.
Your municipal gas supplier can give you specific guidelines on how to test your gas pressure, or you can watch this video to learn for yourself. If you are uncomfortable checking this yourself, seek help from a gas professional.
Step Seven: Check gas supply lines.
Leaks often go unnoticed and can be dangerous and costly. Thoroughly inspect piping and hose connections. Using a spray bottle of soapy water, spray every gas connection and check for gas leaks. Especially important on outside lines where pipes are prone to damage.
Step Eight: Conduct a test run.
 Sometimes brooder cleaning results in the heater not lighting. Doing a test run will ensure everything is in good working order for when you’re ready to use them.
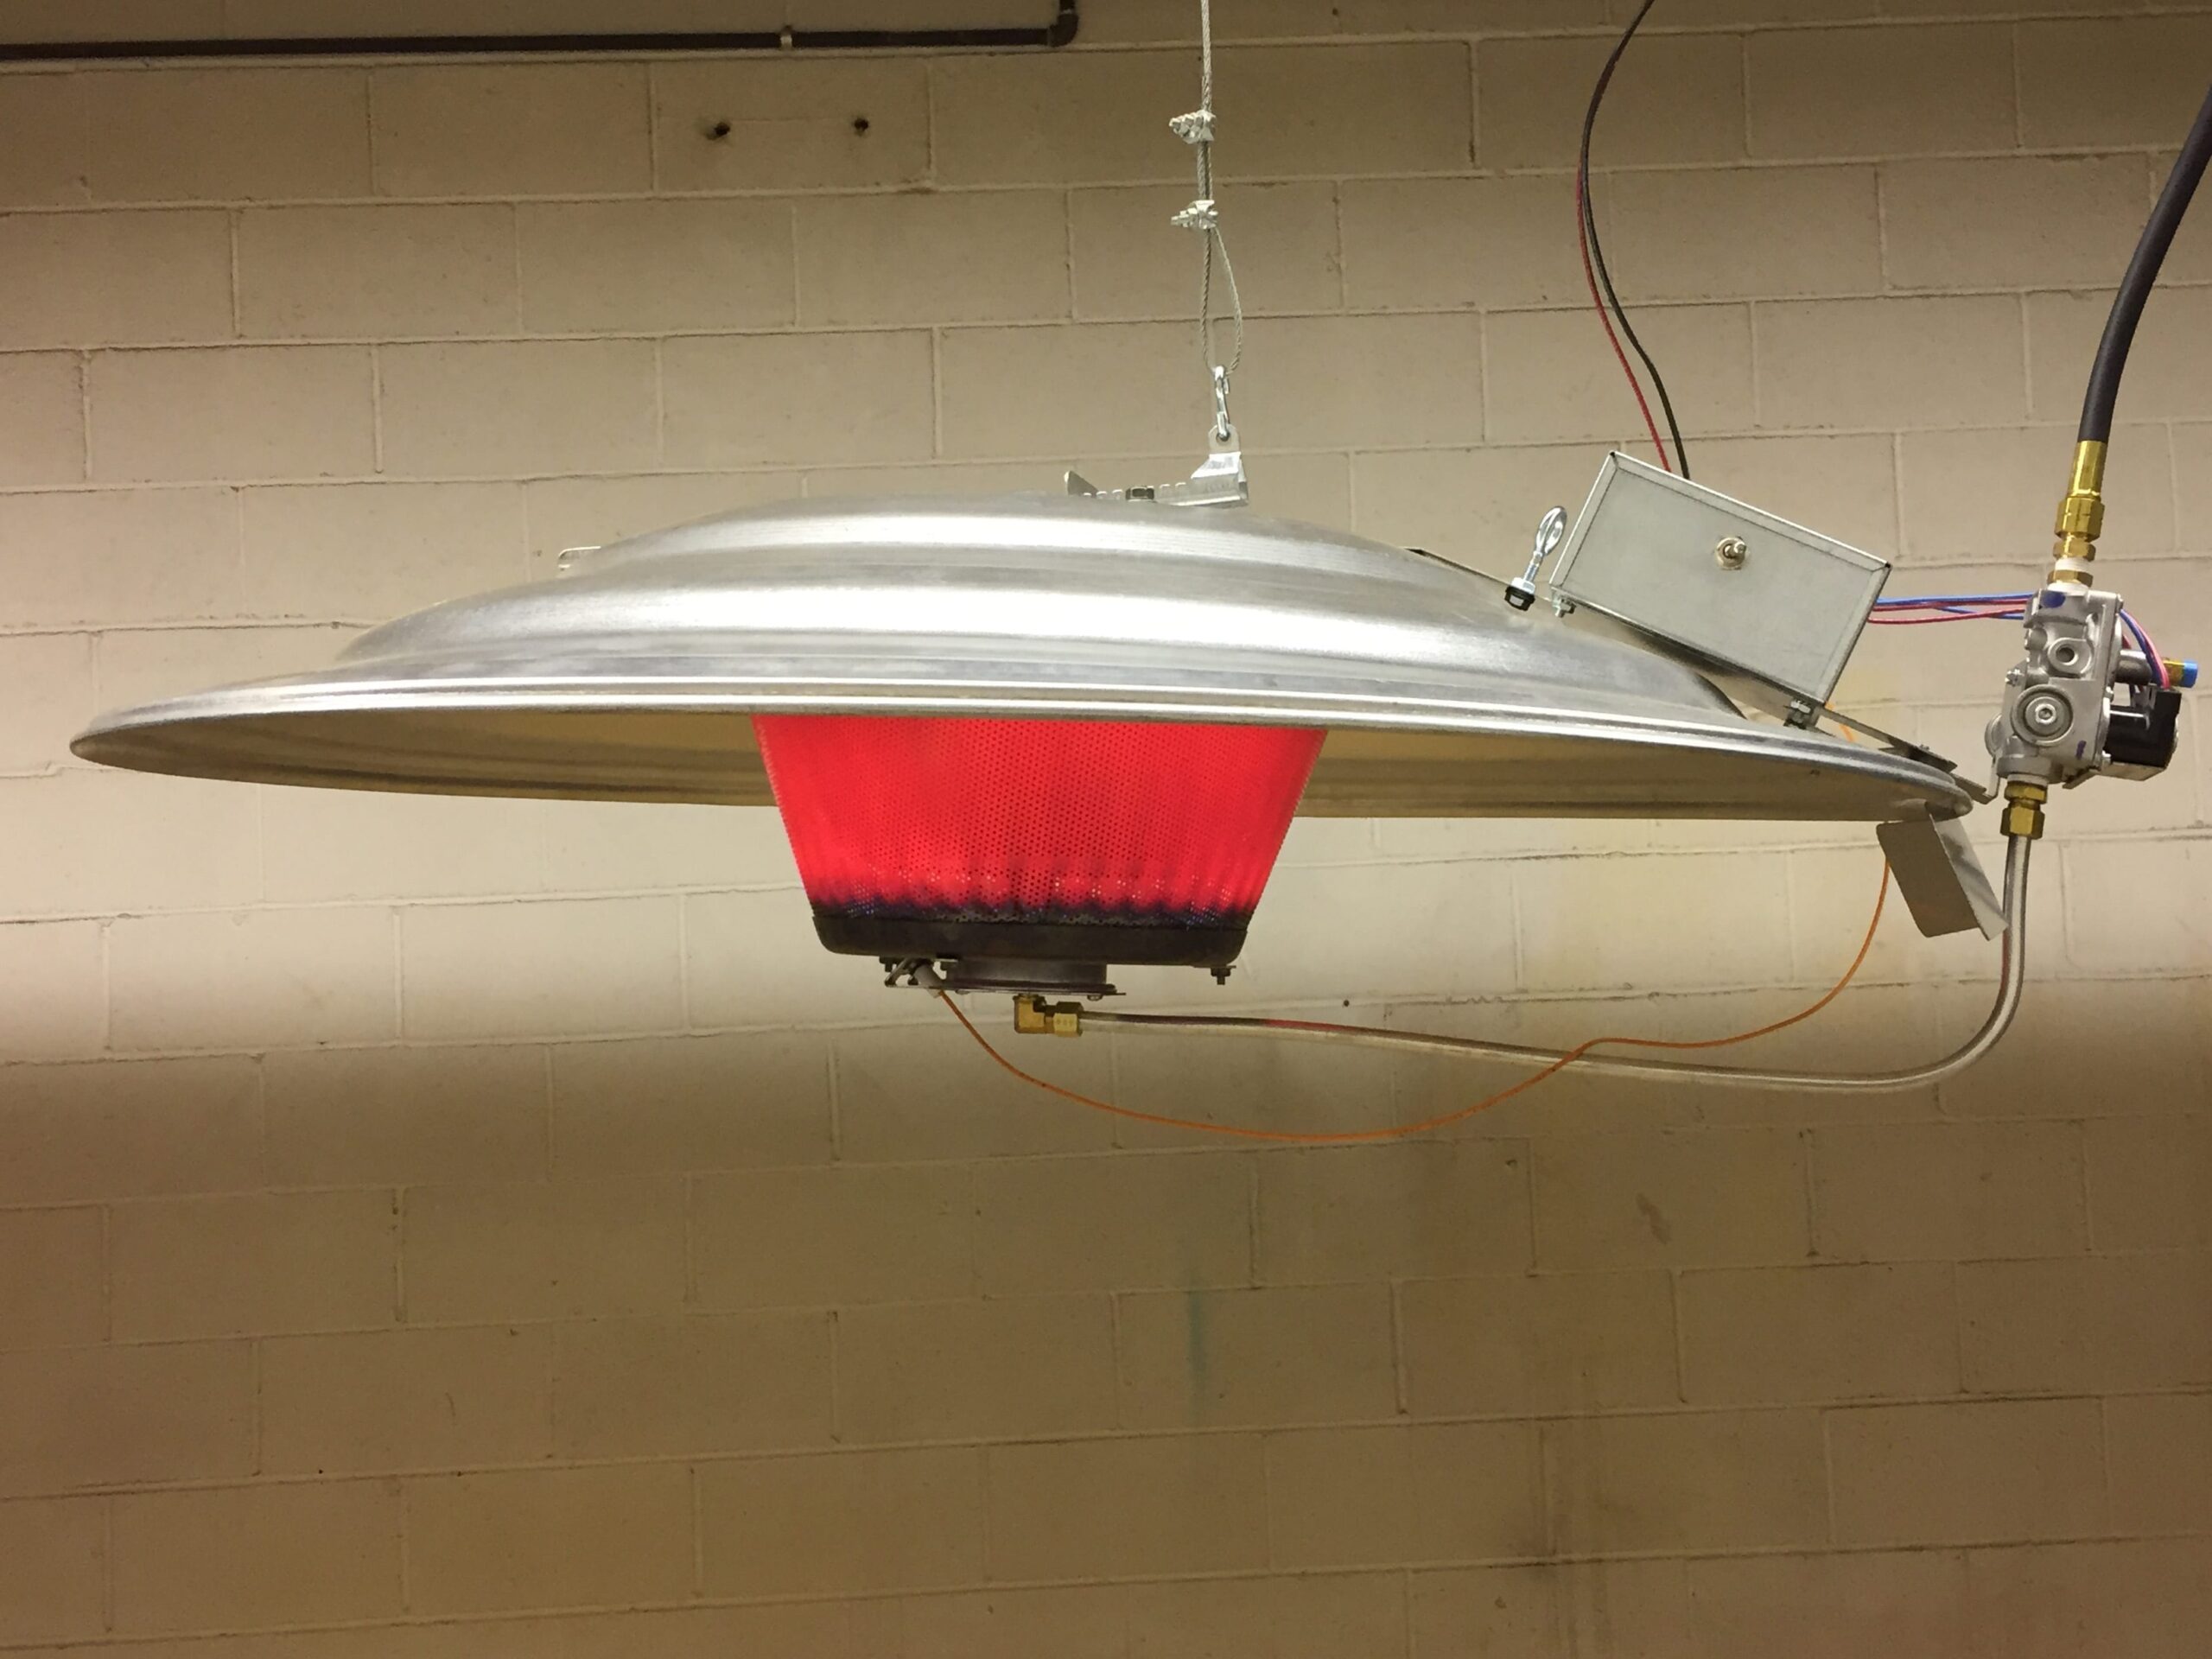
Always follow manufacturer recommendations for using your brooder. Heaters are designed to operate optimally at a certain height under certain pressures and closely following their advice will ensure their best performance. Need to replace your old brooders? Call your nearest VAL-CO Dealer and ask about our new Aurora IR low-profile brooders!